
Coloring Guide
How to Color Mandalas for Beginners
Learn how to choose a beginner-friendly mandala, build a small color palette, organize repeated shapes, and complete the page one manageable group at a time.
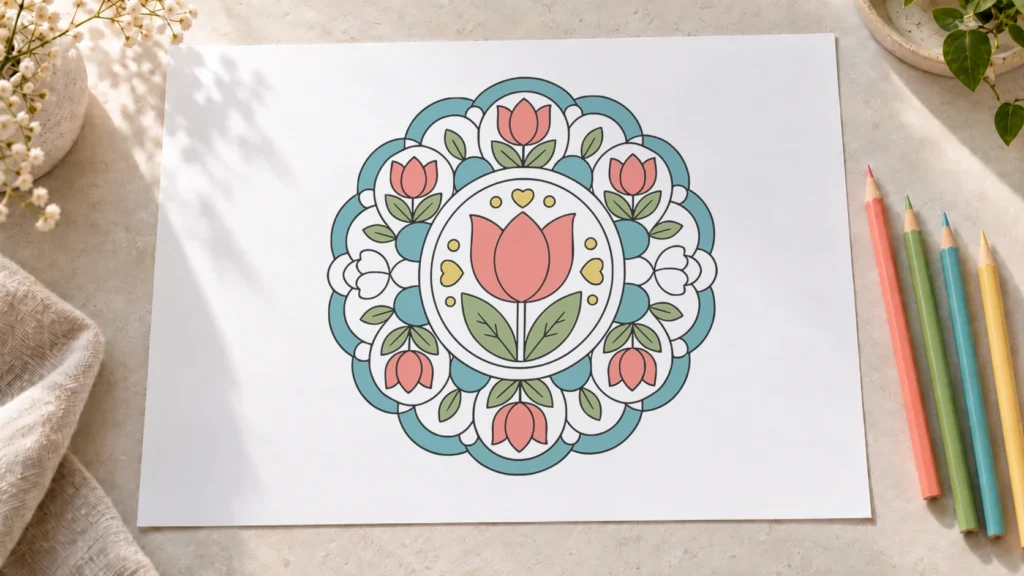
A mandala may look like hundreds of separate spaces, but you do not need to make hundreds of decisions at once. The easiest way to begin is to find the shapes that belong together, choose a small group to color, and repeat one clear decision at a time.
This guide will help you choose a manageable design, understand its pattern, test a small palette, and work through the page in organized stages. You can start at the center or the edge, use one color or several, and stop when the design feels complete to you.
Choose a mandala you can comfortably follow
For a first mandala, look for broad areas, clear outlines, and repeated shapes that are easy to recognize. A design can be large overall and still contain tiny spaces, so inspect the smallest details as well as the main flower or center.
Consider the tools you plan to use. A sharpened colored pencil or fine-tip marker can reach narrow sections more easily than a broad crayon or marker. If your tool feels too large for many of the spaces, choose a page with fewer details or plan to leave some of those spaces white.
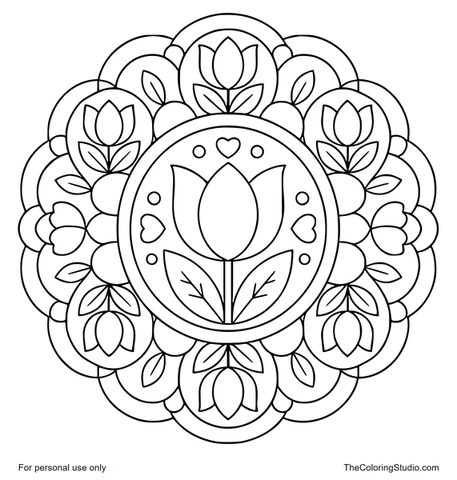
The difficulty label can help, but it is only one part of the choice. The Tulip Petal Circle Mandala is classified as Medium, yet its central flower, recognizable leaves, and broad repeated sections make its structure relatively easy to follow. The Floral Mandalas collection also includes other designs with familiar petals and leaves that can help you recognize matching shapes.
Print the page at a size that keeps the lines clear and gives your hand enough room to move. If you need help preparing the sheet, follow How to Print Coloring Pages at Home before you begin.
Read the pattern before choosing your colors
Spend a minute looking at the whole page without coloring anything. Find the center, then let your eyes move outward. You may see petals around the middle, bands of shapes around those petals, or wedge-shaped sections that repeat around the circle.
A ring is a band of details arranged around the center. A sector is a wedge-shaped portion of the mandala, similar to a slice of a pie. A shape family is a set of matching forms, such as all the large petals or all the small circles in one ring.
Choose one obvious shape and locate every matching version of it. Pay attention to position as well as outline. A leaf beside the center may belong to a different group from a similar leaf near the outer edge. You do not need to mark the page or memorize the entire pattern. You only need to understand the group you intend to color first.
Choose a small palette and test it first
A small palette makes repetition easier to manage. Set aside one to four colors and place the remaining tools out of the way for now. This reduces the number of decisions you have to make each time you reach a new ring.
Test every color on a scrap of the same paper before using it in an important area. Make a few light and firm marks with a pencil, or a short stroke with a marker. The test shows the actual color on that paper, how much pressure or ink it needs, and whether the tip fits the smaller spaces.
Here are four simple starting systems:
- One color family: use light and dark versions of one color, or vary the pressure of a colored pencil.
- Two alternating colors: repeat A-B-A-B around a ring.
- Three repeated colors: follow A-B-C, then begin the sequence again.
- One dominant color with accents: use the main color for large shapes and reserve one or two accent colors for small details.
You only need enough of a palette plan to begin. For a fuller method of choosing, testing, and distributing colors, see How to Choose Colors for Coloring Pages.
Decide whether to start at the center or the edge
There is no required starting point. The center and the outer edge simply give you different ways to establish the pattern. Choose the area where the shapes are easiest for you to recognize and reach.
Start at the center for a clear focal point
Beginning in the center lets you establish the main color relationship in a small, prominent area. You can complete the central flower or medallion, look at how the colors work together, and use that result as a reference for the outer rings.
This route is useful when the center contains broad shapes or when you already know which color should dominate the page. After finishing the center, pause before automatically carrying every color outward. You may want to repeat the palette exactly, reverse its order, or use only one of its colors in the next group.
Start at the edge to test the pattern gradually
Starting near the edge gives you room to test a color combination before it reaches the focal point. It can also be comfortable when the outer motifs are larger or simpler than the center.
Choose one recognizable outer shape rather than an arbitrary empty space. Find the same shape around the circle and complete that family. When you move inward, you will already have a pattern that can guide your next decision.
Color one group of repeated shapes at a time
Once you choose a starting group, color one shape and then find its nearest match. Continue in one direction around the mandala until you return to the first shape. This turns a crowded page into a specific task, such as “color the large petals” or “complete the small circles.”
When a design has clear rings, you may prefer to finish one band before moving outward or inward. When it has strong wedge-shaped sections, you can complete one sector and use it as a guide for the next. Both approaches work. Use the one that makes corresponding spaces easiest to find.
Rotate the paper whenever that gives your hand a more comfortable angle. Keep one completed feature as your visual starting point so you can tell when you have traveled around the full pattern. Before changing colors, scan the group once more for a missed shape.
Follow a beginner sequence on the Tulip Petal Circle Mandala
The Tulip Petal Circle Mandala provides a useful practice page because it combines a large central motif with repeated flowers and broad outer sections. For this exercise, choose three main colors and one optional accent. You might use pink for the flowers, green for the leaves, blue for the large rounded areas, and yellow for small circles and hearts.
- Begin with the central tulip. Use your dominant color for the large flower. Keep the fill simple so you can concentrate on staying within the shape and establishing the first visual anchor.
- Complete the two central leaves. Add the supporting color to both leaves before moving elsewhere. The flower and leaves now form one finished central group.
- Add a few central accents. Use your accent color for the small circles or hearts around the flower. You can color all of them, alternate them, or leave some white. Decide on one pattern before continuing around the medallion.
- Find the six outer tulip motifs. Color their matching flower shapes one at a time, following the circle until you return to the first motif. Repeat the central flower color, or use a lighter or darker related color if you want planned variation.
- Color the outer leaves as a separate family. Complete corresponding leaves around the page rather than finishing every detail of one flower cluster at once.
- Work on the broad outer sections. Use one supporting color throughout the ring or alternate two colors. Trace the sequence with your eyes before filling the first section so you know how the final color will meet the first one.
- Leave the smallest details until last. Circles, connectors, and narrow spaces can receive an accent color, repeat a nearby color, or remain white.
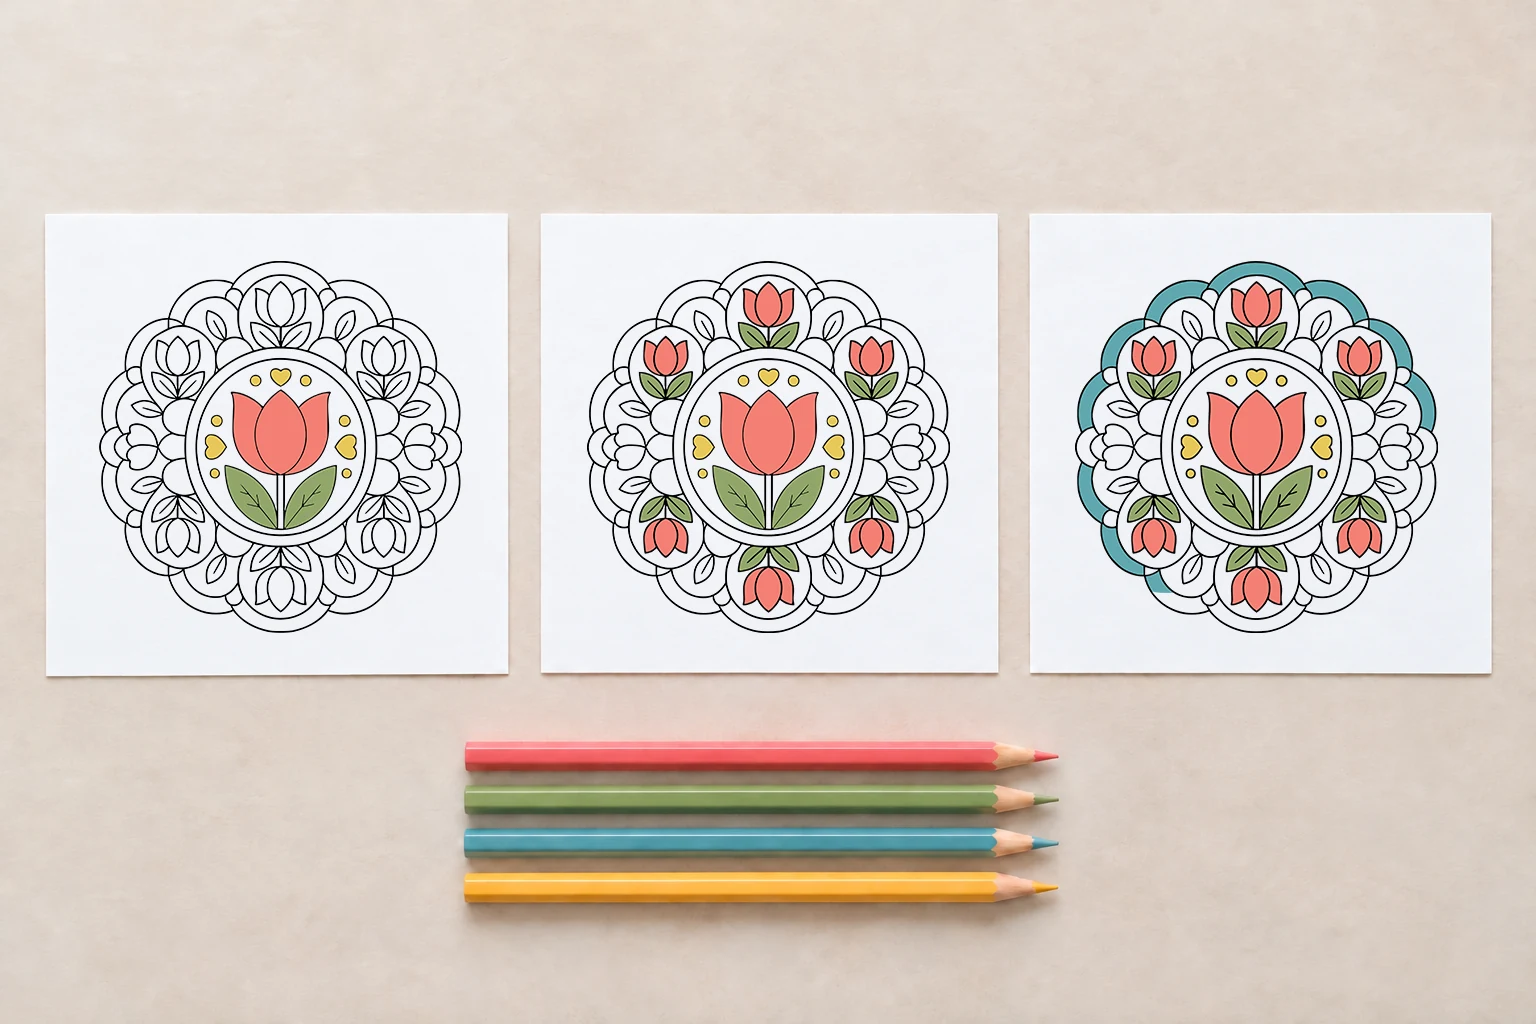
Pause after every stage and look at the entire page. You do not have to finish the outer ring in the same session as the center. A completed group gives you a clear stopping point and makes it easier to resume later.
Use repetition, alternation, or a planned variation
Repeating one color on matching shapes creates the clearest system. It is especially helpful on a first mandala because every completed shape becomes a reference for the next one.
Alternation adds variety while keeping the sequence predictable. With two colors, move A-B-A-B around the ring. With three colors, repeat A-B-C. Before you begin, count or trace the spaces around the circle to see how the sequence will meet itself. If the last and first colors create a combination you do not like, change the order or use a single color for that group.
A planned variation can draw attention to one area. You might give the central tulip a darker shade than the six surrounding flowers, or use the accent color in only a few small shapes. The variation feels intentional when the rest of the pattern remains easy to recognize.
You can also decide that one shape will be different after you have already colored it. A mandala does not require exact color symmetry. What matters is that you understand which choices you are repeating and where you have chosen to vary them.
Pause and check the whole page
After completing a family of shapes, set down your tool and look at the page from a little farther away. This wider view makes repeated decisions easier to compare than when your attention is fixed on one small space.
Look for a matching shape that was missed, a ring that stops unexpectedly, or a color that appears only in one area. An isolated color is not automatically a problem. Decide whether it works as an accent or whether repeating it once or twice would connect it to the rest of the page.
Also notice the uncolored spaces. White paper can separate neighboring colors and give the pattern room to remain clear. Before adding another color, ask what role it would have. If the current palette already distinguishes the main groups, you may not need a new one.
Handle small spaces and unexpected color choices
Make small spaces easier to manage
Use the narrowest suitable tip you already have and rotate the paper until the space is comfortable to reach. With a colored pencil, short light strokes give you more control than pressing hard immediately. You can outline the inside edge first and then fill the remaining center if that helps you see the boundary.
Small enclosed details do not all need separate colors. Repeat a nearby shade, use one accent throughout the group, or leave the tiniest areas white. If you plan to use markers, test the paper and the tip first; the Best Paper for Coloring Pages guide explains how paper choice relates to common coloring tools.
Incorporate a color that did not work as expected
If a color looks different on the page than it did in the barrel or cap, pause before trying to cover it. You may be able to repeat it in another corresponding shape and turn it into part of the pattern. You can also keep it as a small accent and choose quieter colors around it.
When using colored pencils, a darker color may change the result, but test the combination on scrap paper first. Coverage varies with the pencils, paper, pressure, and number of layers. If adjustment would make the area heavy or damage the paper, leave the original choice and continue with the next group.
A mark outside a line or one differently colored petal does not require a restart. Look at the whole design before deciding whether the difference is noticeable or needs any response.
Know when your mandala is visually complete
A page can feel complete before every enclosed space is filled. Check whether the main repeated groups have a clear treatment, whether any important ring looks accidentally unfinished, and whether the dominant and accent colors appear where you intended.
White spaces can be part of the finished design when they separate shapes or keep a detailed area readable. If adding another color would not solve a specific problem, you can stop. Completion is a visual decision, not a requirement to cover every piece of paper.
If you are unsure, put the page aside and look at it again later. The parts that need attention are often easier to see after a break. You may discover that the mandala already has enough color and contrast.
Move to a more detailed mandala when you are ready
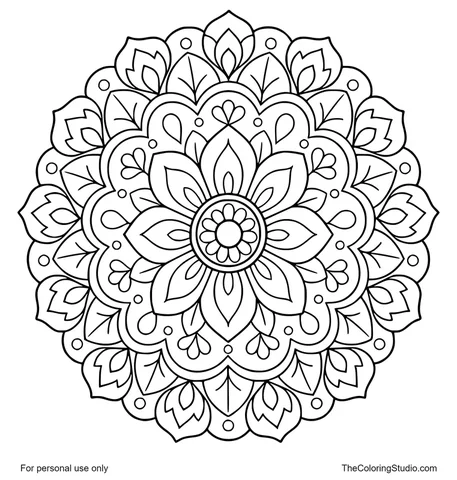
After completing a design with broad repeated shapes, try the Floral Mandala Coloring Page. It is also classified as Medium, but it introduces a smaller center, more layered rings, a wider variety of petals and leaves, and more small decorative spaces.
Use the same process: identify one family, choose its treatment, complete the group, and inspect the page. The additional detail changes the number of stages, not the method itself. You can also practice rings and sectors with the Geometric Mandalas collection, or apply repeated color decisions to the recognizable figures in the Animal Mandalas collection.
Blending and shading are optional. When you want to add smooth transitions inside larger petals, use How to Blend Colored Pencils on Coloring Pages as a separate next step.
Use this routine for your next mandala
- Choose: find a page whose smallest spaces suit your tools.
- Observe: identify the center, rings, sectors, and repeated shape families.
- Test: select one to four colors and try them on scrap paper.
- Color: complete one repeated group before starting another.
- Review: check the whole page, then continue, adjust, or stop.
You can use this routine with any design in the Mandalas category. The shapes and level of detail may change, but the next step remains manageable when you focus on one clear group at a time.
Put the guide into practice
Try These Coloring Pages
Keep exploring
Explore Related Collections
From learning to coloring
Ready to Color?
Explore free printable coloring pages for your next creative moment.
Browse All Coloring Pages